Table Of Content

Quick Guide

Video Guides

Getting Started
UI Settings

Data Tables

UI Layout

Widget Panels

F. w. Preview

Designer

Variation Actor

Scene Settings

Blueprints

Gamemode

VR projects

Connect BP

Cost Tracking

Multi-Unit-Prj

Google Data Sheets

FAQ + TIPS
Fix Known Bugs

Version History
VR Projects
This will give you a brief overview of what is required to run the UI3 with a VR headset.
The demo project is optimised for PC and may run poorly in some VR environments. Your project needs to be performing well if you want to use it in VR!
This is not a complete guide for VR in Unreal Engine. Follow the links provided for better guides.
Unreal Documentation - XR Best PracticesContent:
Installing Your VR Headset
There are many VR headsets available. You will need to install your headset so it can work with your PC. You will also need to install the correct plugin for your headset in Unreal.The UI3 user interface works with all headsets as long as they are installed correctly. There are many things that can stop VR projects from working. You need to narrow down the cause to find the problem.
- The headset is just another display with another controller for the UI3. Test your project first in the keyboard mouse default game mode.
- Don't look for a setting within the UI if your headset isn't working. There are none that can fix your headset not running.
- Test your headset first on your PC outside of Unreal Engine
- Try one of the free VR examples for Unreal

Test Your Project
Make sure the project you are trying to use with a VR headset is working in standard PC mode before trying it with your VR headset.- The new Usage Preset - VR in the Info Map will apply a few settings that improve performance. Screen Percentage is set to 65% and the Quality is set to "Medium".
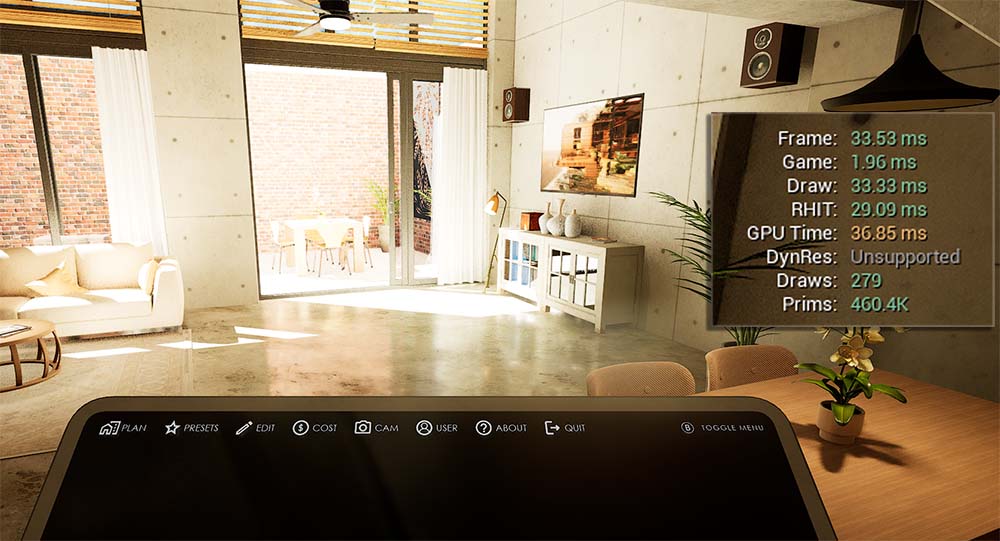
- It has to run with at least 45 or better 90 fps. The image shows 33ms. 1000ms/33ms=30 frames per second for the demo project on my laptop. That would be not good enough.
- Use the console command ~ stat unit to see what is hitting your performance. The lower the time in milliseconds the better. Green values are ok for 30 fps. Game shows blueprints and UI, which is less than 2 ms. Draw shows the time the geometry needs to be rendered per frame.
- Run other apps, preferable Unreal Engine apps to test your hardware.
VR development can be difficult, and optimization is an important skill you'll need for it. You can come a long way by
- The Default Game Settings of the sliders will be applied when the game starts. This only works in a packaged version. You can further reduce the defaults there.
- Disabling Ray-traced reflections, less bounces, or reduce reflection quality in your post process volumes.
- Using Lumen with default settings
- Using Nanite meshes especially for high polygon assets
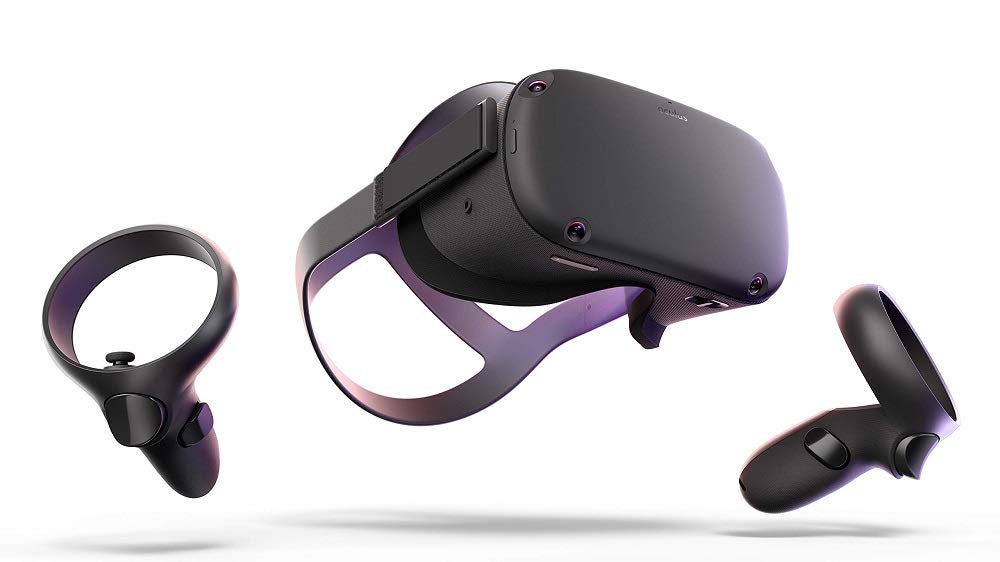
Oculus Quest Headsets
The Quest is a standalone headset that runs on an Android system. Although UI3 might run on Android it is not recommended to use UI3 in this mode. The purpose of UI3 is to present high quality, interactive content. This can currently not be achieved on the Android platform.A headset that starts at around $ 500 obviously isn't able to run high-quality real-time visualizations. You will need to make compromises to get it working in stand-alone mode.
You'll have to use the headset in Quest PC VR mode instead. In this mode the headset is only used as a display while the rendering happens on your PC.
Steam VR and HTC Vive
Steam VR supports HTC Vive, Oculus Rift and other headsets. There is a good chance that your headset is supported by Steam VR, if it isn't one of the major headset brands. It's well suited for Unreal Engine projects.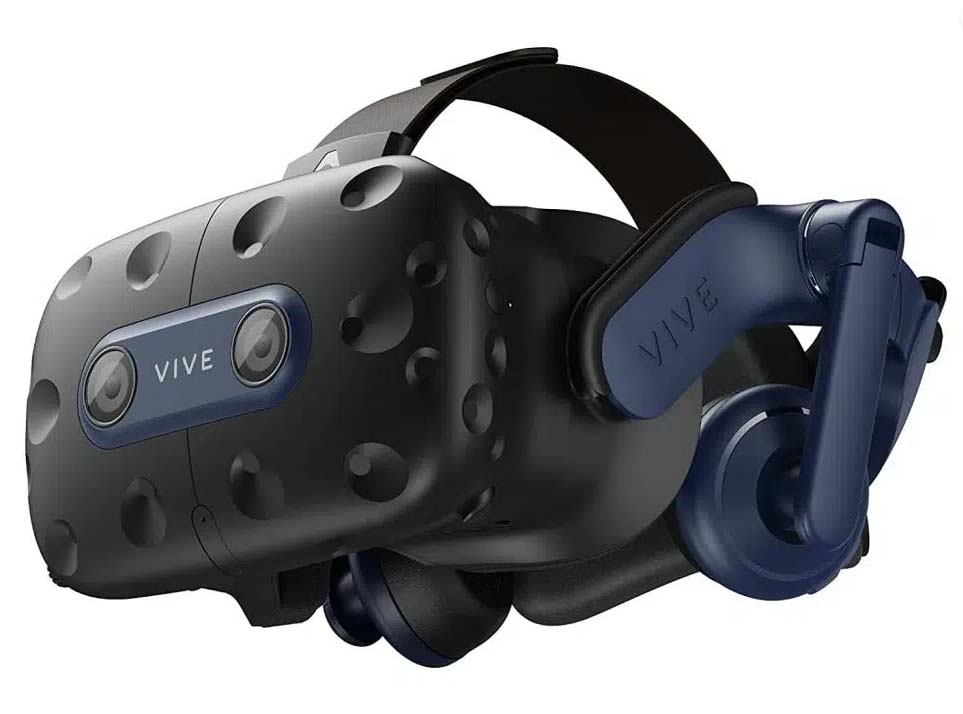
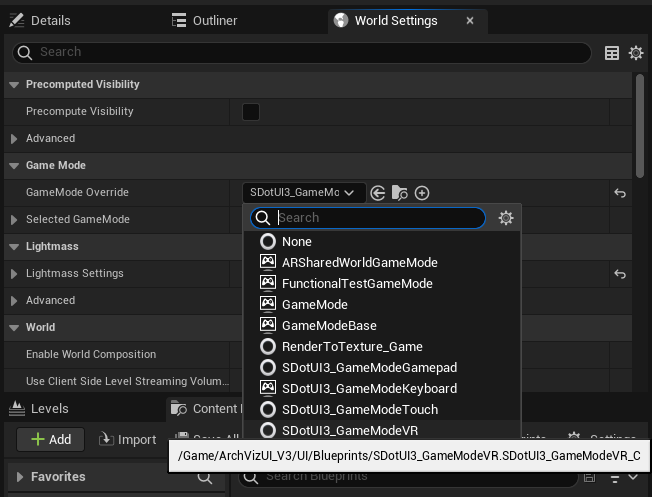
VR Game Mode
The game mode needs to be set to the SDotUI3_GamemodeVR. Open the world settings of your persistent (main) level. Choose the game mode from the list of Game Mode Overrides as seen in the image and save the level.You should see the virtual tablet next time you play your project in the editor preview with the UI items on it.
The demo project contains the level UI3_PersistentVR that is set up to be used for VR.
Grabbing or pointing at objects with your hands may not work with UI3
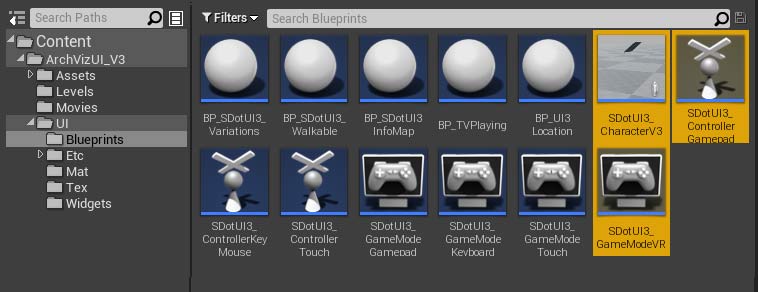
This Game Mode can be used for VR scenes. It enables the 3D interface on the virtual tablet. It uses
- SDotUI3_CharacterV3
- SDotUI3_Controller
Settings in the Info Map
| Settings - Player Movement | |
| Use Mouse Move | If true a target circle will be displayed on the floor. Once the move button (depends on the controller used) is clicked the player will slide to the circles position. |
| UI Design | |
| Button Text Size | Main menu button size: 12 - (default) works well for standard interface use 16-20 - You can increase the Main Menu size on the tablet to be more readable. |
| > advanced display | |
| Preview Brightness | The preview and info images can be over exposed and barely visible on the VR tablet in your scene. You can darker them with this value. In the example scene I had to use a brightness of 0.05 |
| Slot Saved Saved Slot |
Turn down the color brightness if the save slot indicators are too bright and appear white on the VR tablet in the scene. |
| Icon A | Lets you replace the default gamepad face button down icon. This is used to select menu items (like enter). There are button images in the Tex directory for VIVE and Oculus Rift controller. |
| Icon B | Lets you replace the default gamepad face button right icon. This is used to toggle the menu visibility and move sliders to the right. |
| Icon X | Lets you replace the default gamepad face button left icon. This is used to cancel and move sliders to the left. |
| Floorplan | |
| Fade Block Teleport | With this tickbox enabled the screen will fade black while the player is teleported to a new location. May be needed to avoid VR sickness. |
| Project Info & Help | |
| Help Image | Replace the current image with the image that shows the control scheme of the connected controller. There are images for Gamepad, VIVE and Oculus Rift controller available. |

Simulating Input Controls
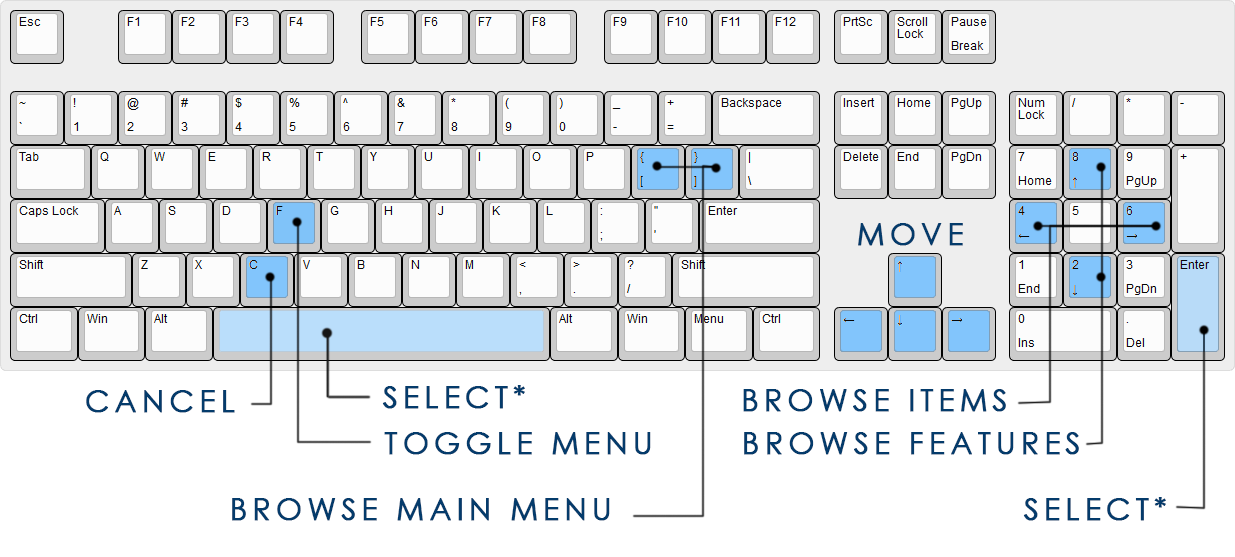
You need a game controller to navigate through the menu items on the tablet. You can simulate the controller buttons on the keyboard as seen in the image.[ENTER] could be replaced with [SPACE] for select in some UI3 versions
Tablet Widget Issues
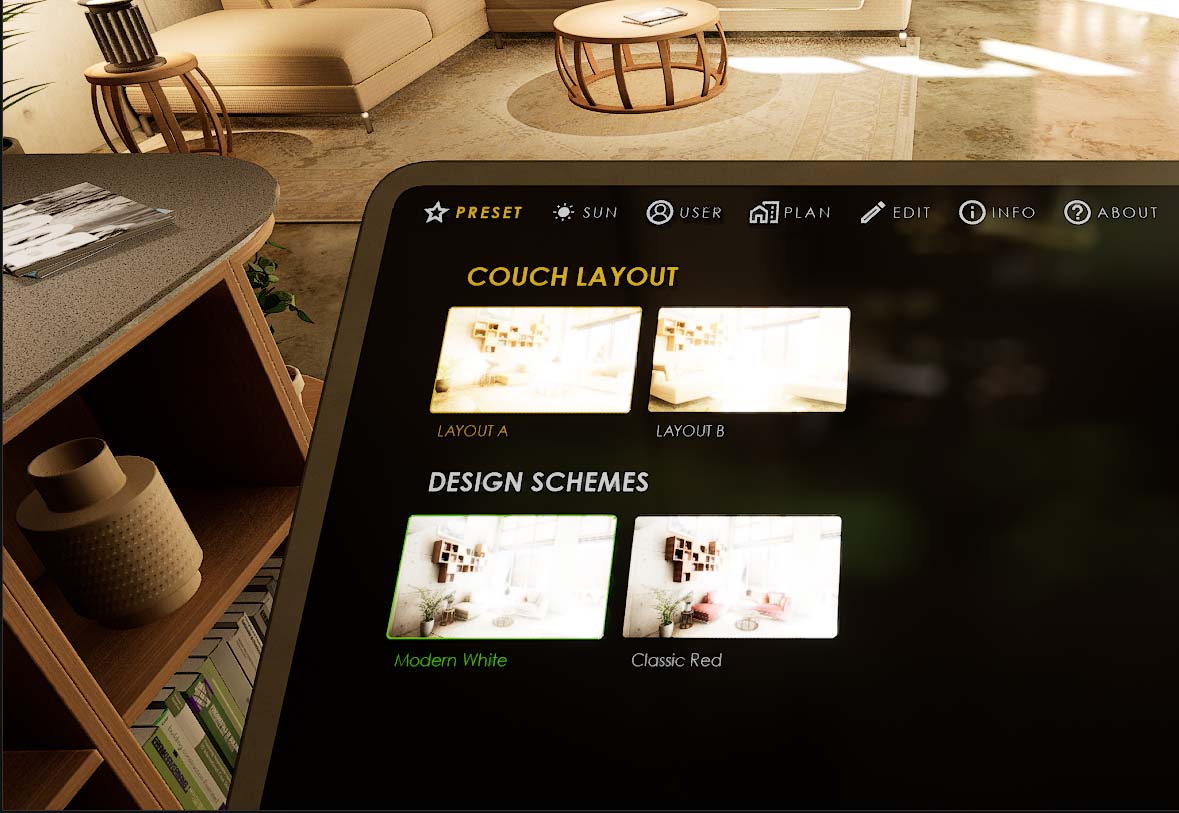
You're preview images might appear too bright on the tablet. This can be fixed by reducing the value Advanced UI Settings -> VR Preview Brightness to a value like 0.023.The cause of the issue is the overly bright directional light in the SunSky Positioning blueprint. I recommend reducing the brightness to 75.0 lux or less.
Info Map -> Settings Camera -> Slider Values Cine Cam -> Index [3] -> Default Value
OpenXR Plugin
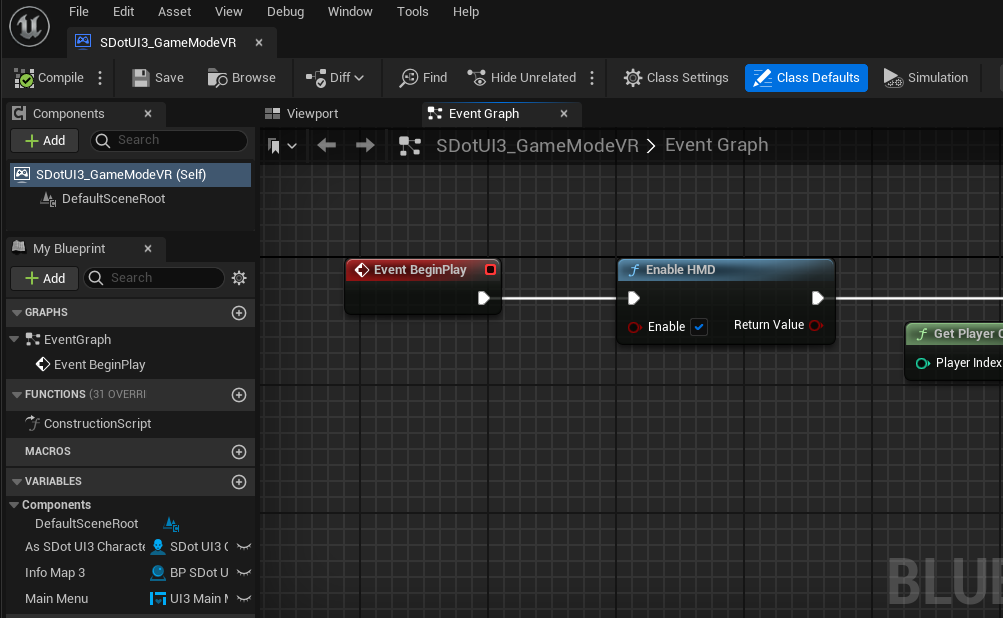
The OpenXR plugin is added to the Demo Project by default. Every Game Mode contains a node from it to either enable or disable the Head Mounted Display (HMD) VR headset. This allows the player to travel from a non-VR to a VR enabled scene within the same application.If you are getting compile errors then check if the OpenXR plugin is enabled in the plugin settings.
Some headsets are not compatible with the OpenXR plugin, In this case you need to remove all Enable HDM nodes from all SDotUI3 game modes. You will need to find the node that enables your headset supplied by the plugin for your headset and connect it to the Begin Play node of the SDotUI3 GamemodeVR.
[legacy] VR Headset Tracking Origin (3.1)
This node may need to be removed to avoid a packaging failure. It may not exist in every VR plugin!By default the tracking origin of the headset is set to Eye Height. This works for headsets that you use while sitting down or staying in the same place when using it.
HTC VIVE or similar headsets allow you to walk around and usually have their tracking origin set to the floor level.
You can change this directly in the SDotUI3_GameModeVR or set it in the info map per project. Locate the Set Tracking Origin node in the game mode and change it. Then compile and same the game mode.

 Top of page
 Unreal OpenXR Documentation